
|
start | overview | signal flow | workflow | screen | midi | cue levels and overdub | quick manual | repair
So you enter a Minidisk in the MD8, close the lid and after a little while, you see ERROR 01.
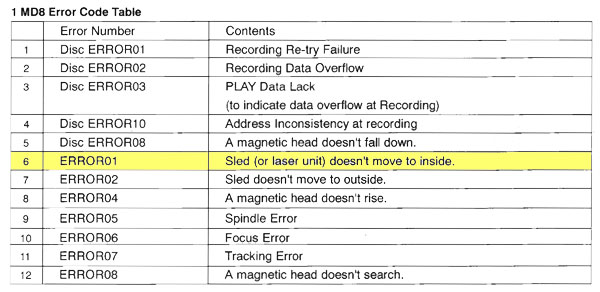
This means the drive can not transport the read/wite head. It is stuck.
| From the web: A Yamaha MD8 "Error 01" typically indicates a mechanical failure where the sled (laser assembly) fails to move to the inner position, often caused by a jammed sled motor, worn mechanism, or a dirty laser lens. It is a common, often fatal, error requiring cleaning, lubricating, or repairing the MD mechanism. |
Maybe the lubricants are getting hard, maybe there is a hair stuck in the transport cog.
Fix it by cleaning it!
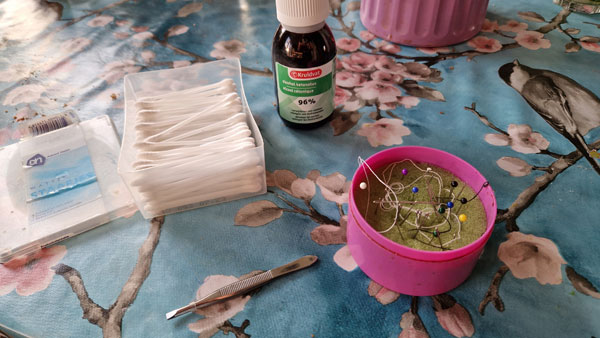
Collect some cleaning things, like 96% alcohol and cotton sticks, a needle and tweezers.
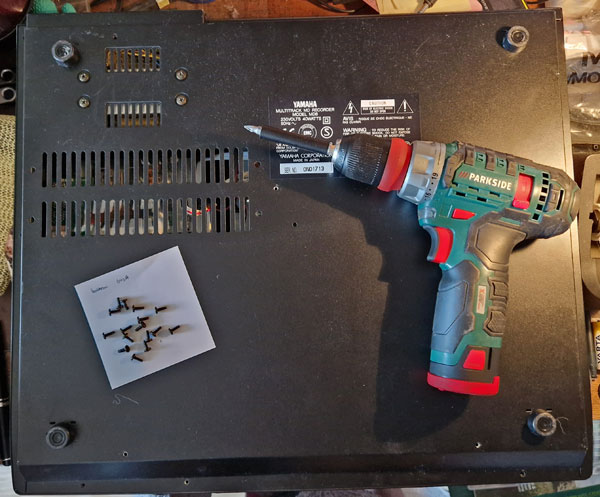
Unplug the MD8 from the power. Remove the MD compartment cover.
Turn the MD8 upside down.
Please put the machine on a flat and soft undergroud, to not damage the knobs.
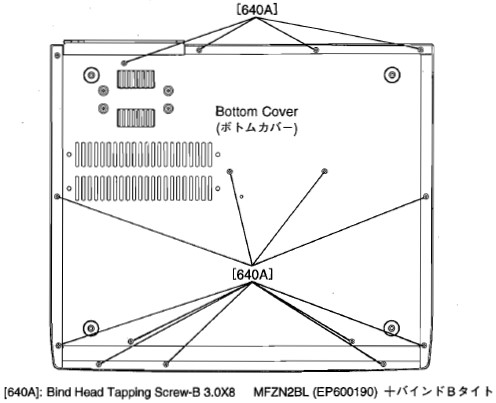
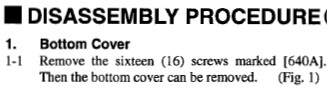
Unscrew the 16 screws from the bottom, as shown in the service manual.
 |
 |
So let's go!
Remove the bottom. We need to go to the MD Drive.
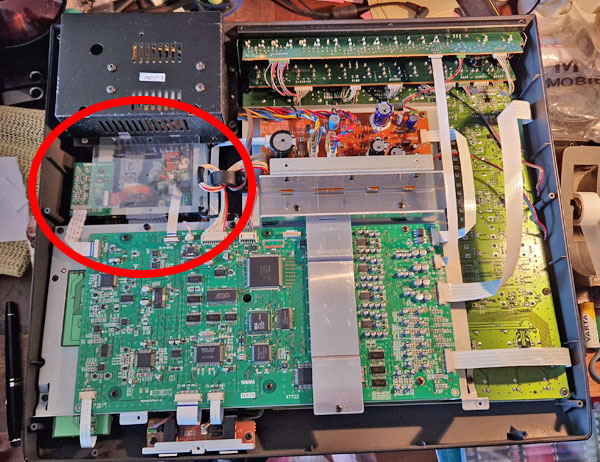
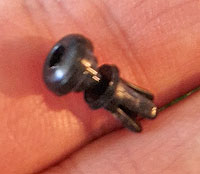
Remove the transparent plastic cover.
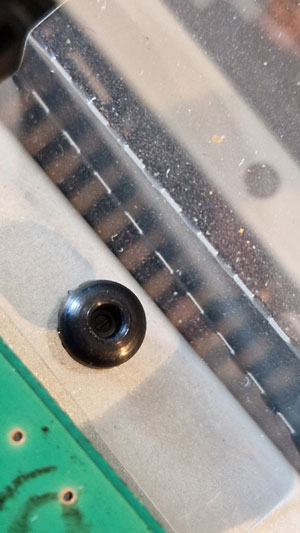 The plastic clamp is not a screw.
You can lift it up and out of the chassis.
Refitting it back later is a different story though.
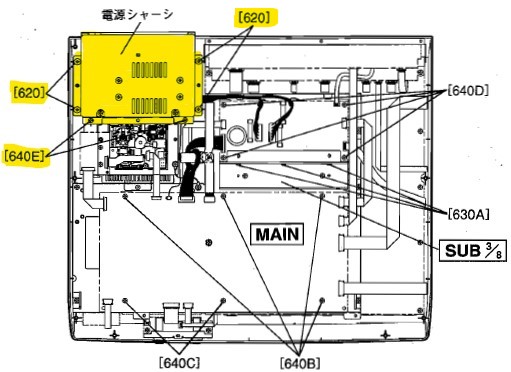
Now that the transparent plastic cover is out of the way, remove the screws of the Power Transformer Unit.
 |
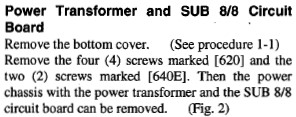 |
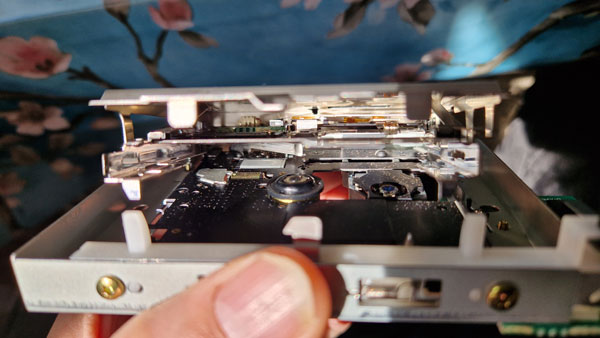
Lift the box carefully.
Put the box down, without releasing the cables. You can turn it 180 degrees without damaging the wires.
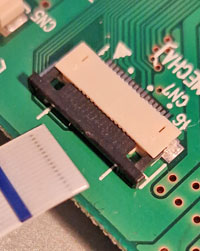
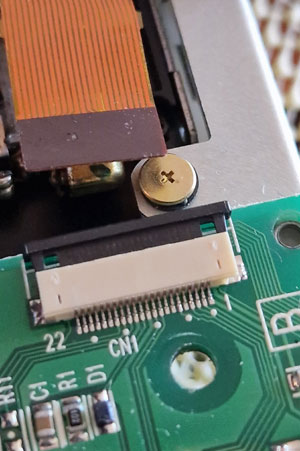
Releaase the Zero Insertion Force (ZIF) connectors, by pulling the black holder away from the white holder with both of your fingernails.
You are going to lift out the MD unit.
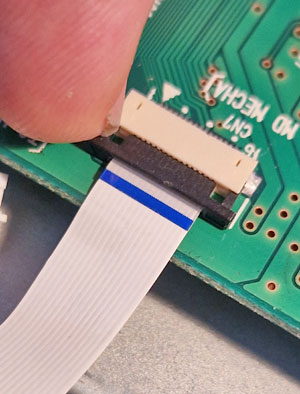 |
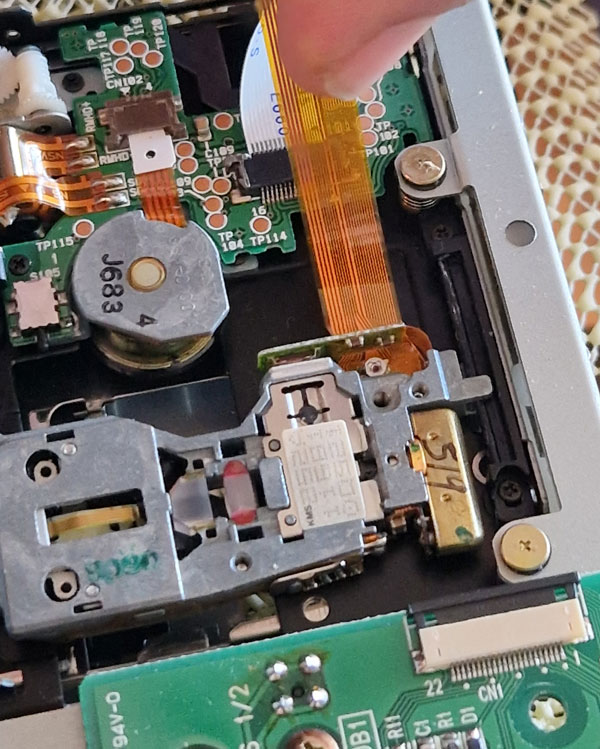
 pull out the flat cable without force |
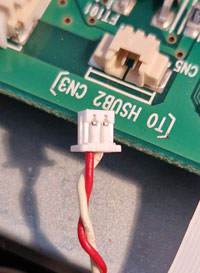 pull out the red/white wire with both fingernails |
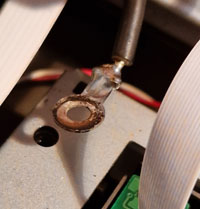 the ground cable is attached to one of the 4 corner screws |
Also remove the orange flat cable from the read head sled, because the cable is in the way of the cleaning job.
 |
 |
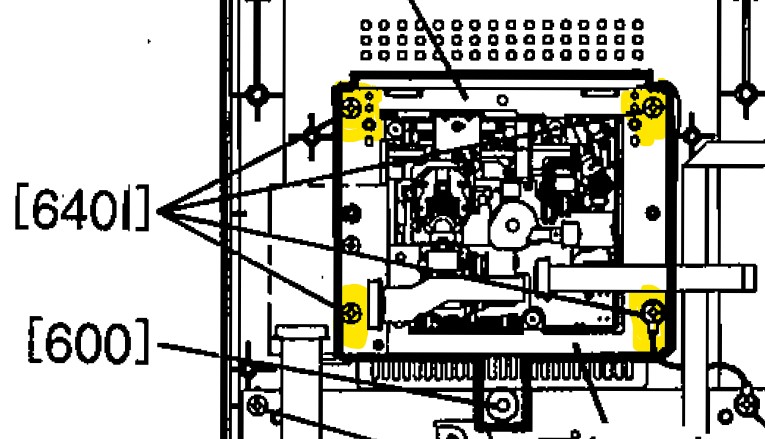
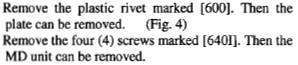
Remove the 4 corner screws of the MD unit.
 |
 |
You are going to very carefully clean both sleds of the head transport assemby. Look for hairs or other dust. And maybe some old grease.

Try to remove anything that looks like dust or hairs from both guides.
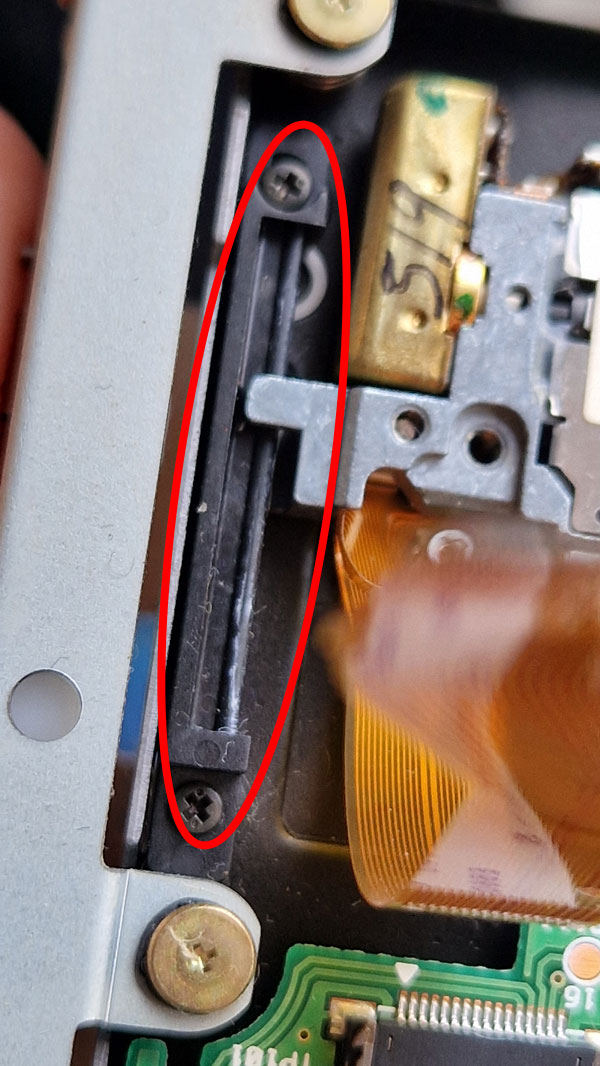
To clean the whole cog, gently slide the assembly back or forth. It just clicks and rattles over the cogs.
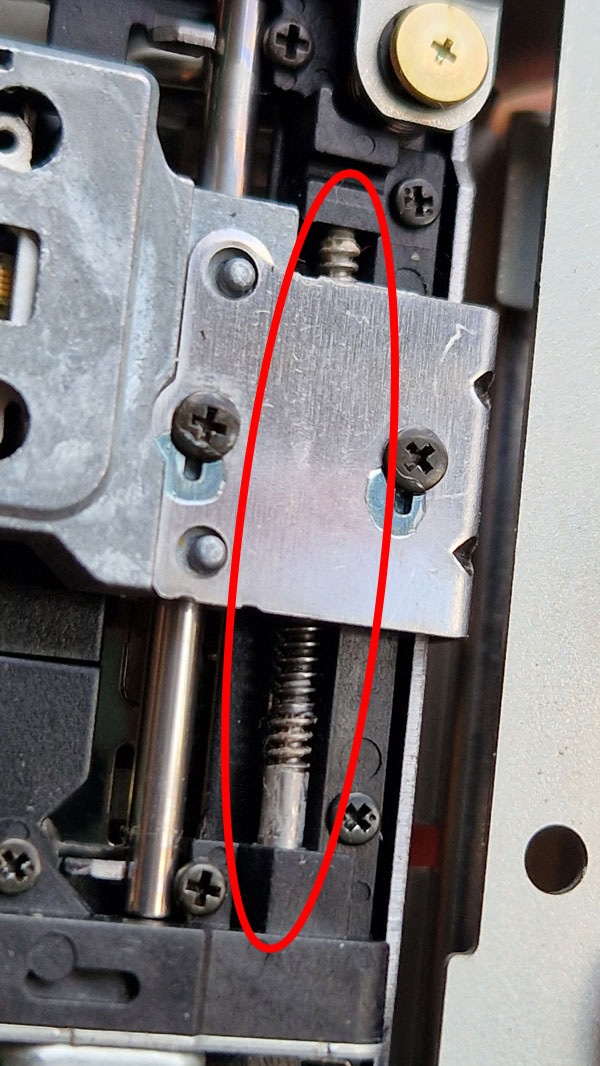
Use the cotton stick, soaked in alcohol and a needle to clean the guidance siders.
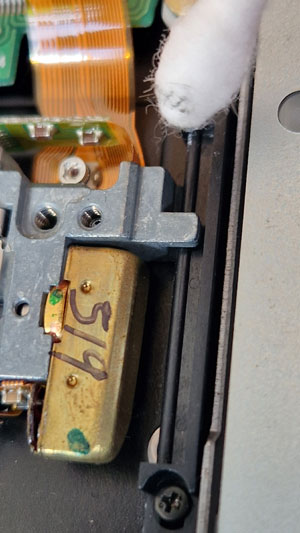
Let it shine!
I did not re-lubricate the guidance rails, because I'm afraid the lubricant will go everywhere.
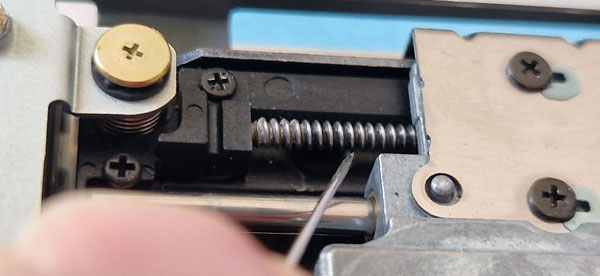
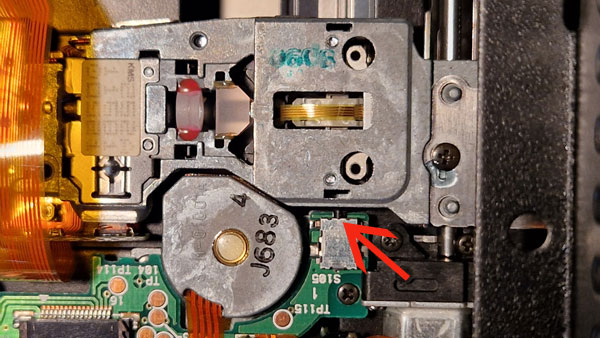
When you're done, slide the assembly all the way to the push switch, until it can go no further.
This will set the MD head to the landing zone, and tell the MD8 the head is in its starting position.
If you fail to do this, the unit will not spin up the MD motors after switching on the unit.
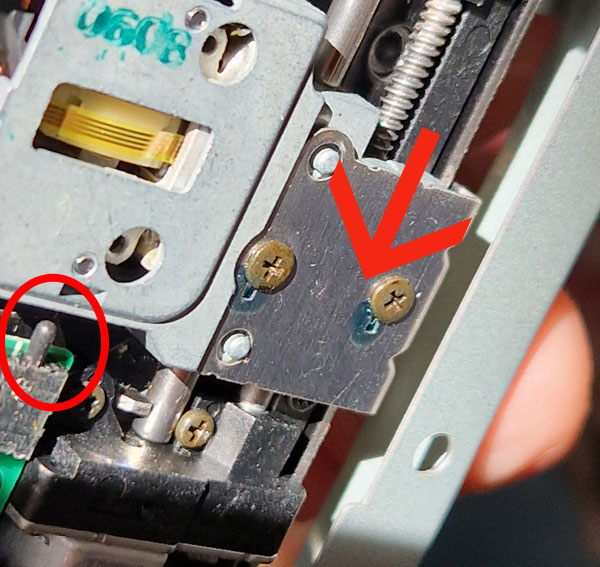
After sliding, it should look like this. The micro switch is pressed by the assembly.
Also check for dirt in the MD holder.
A spray can with compressed air (used to clean the inside of analog photo cameras) can be very helpful too.
If you decide to blow with your mouth into the unit, make sure not to spit into the unit.
Reassembly is done in the reverse order.
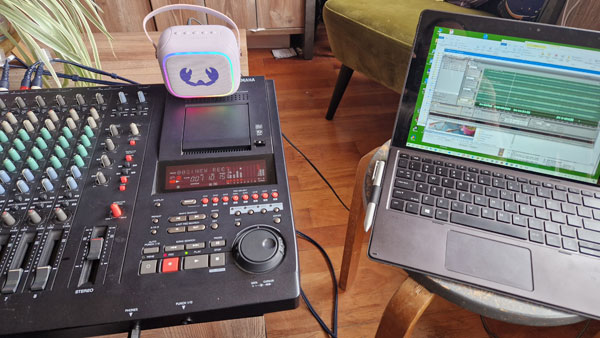
My ERROR 01 was gone after this, and I could make recordings again.
Aaaaaand 3 days later, the same issue returned. Meh.
Good luck!
I also put this repair guide into the Facebook Minidisk Repair group.
Minidisc Repair & Technical | Does anyone in the group remember these | Facebook